Wrapping up 2016 and Gearing up for 2017

After the 2016 Dayton Mini Maker Faire, the Make It Dayton team took a long, deserved break – mostly so we could spend a little time getting back to our own maker projects!  We had a fantastic first year for our Maker Faire on July 16, with over 2500 attendees and more than 50 exhibits and hands-on activities scattered across Carillon Historical Park.  Now that we’re all rested and refreshed, we’re gearing up for the 2017 Dayton Mini Maker Faire.

This year, the Dayton Mini Maker Faire is expanding to a 2 day event, August 5-6 2017.  We’ll be launching our Call for Makers this January, so keep an eye out for our newly revised and simplified application form.  This year we are focusing on adding classes, speakers and more hands-on workshops to the event.  We are working on bringing in a 2-day HAM radio certification course, and a very big name speaker and author who has been featured in Make: Magazine.  

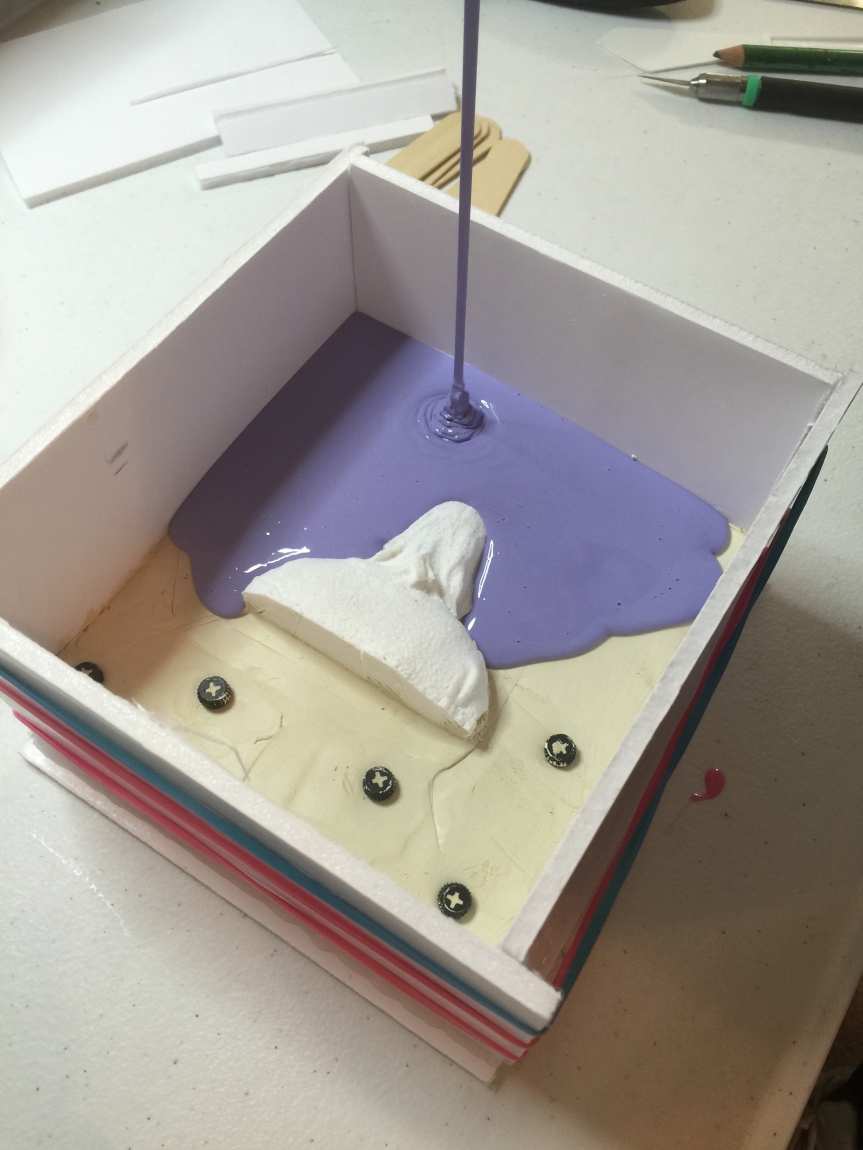
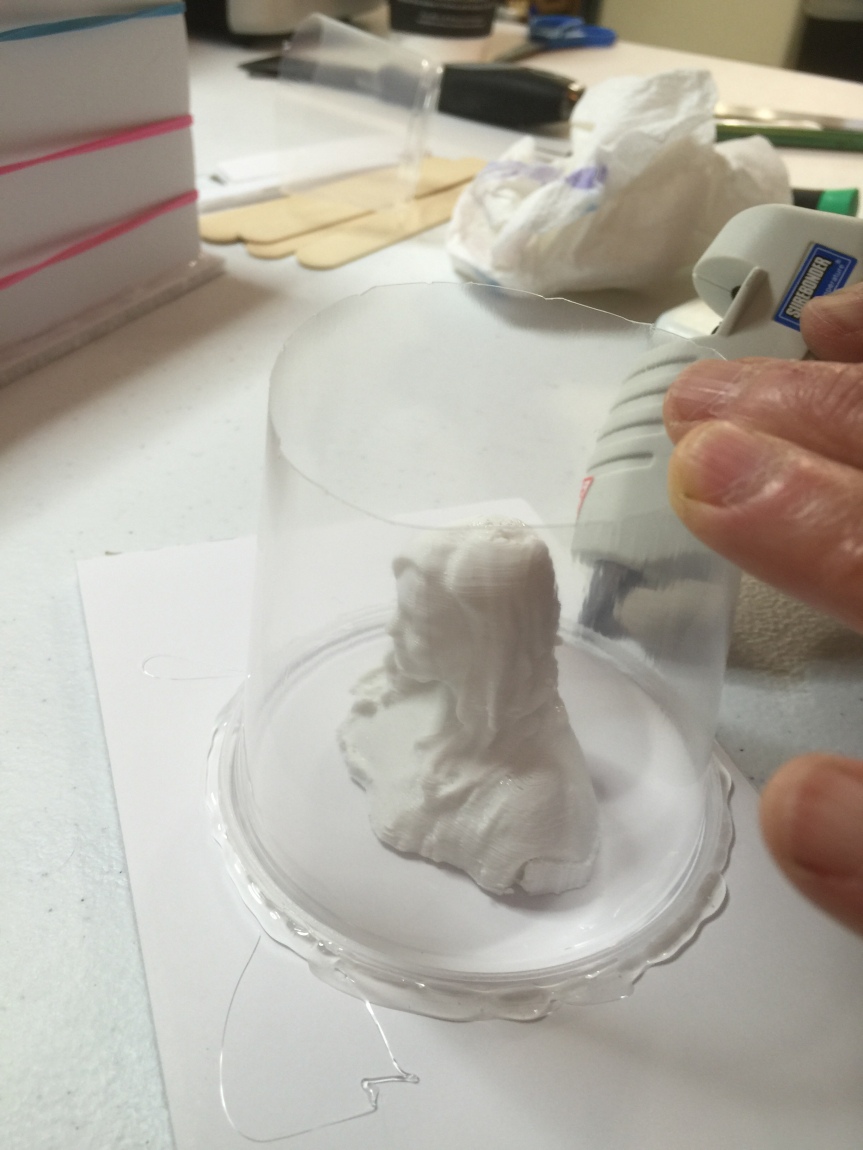
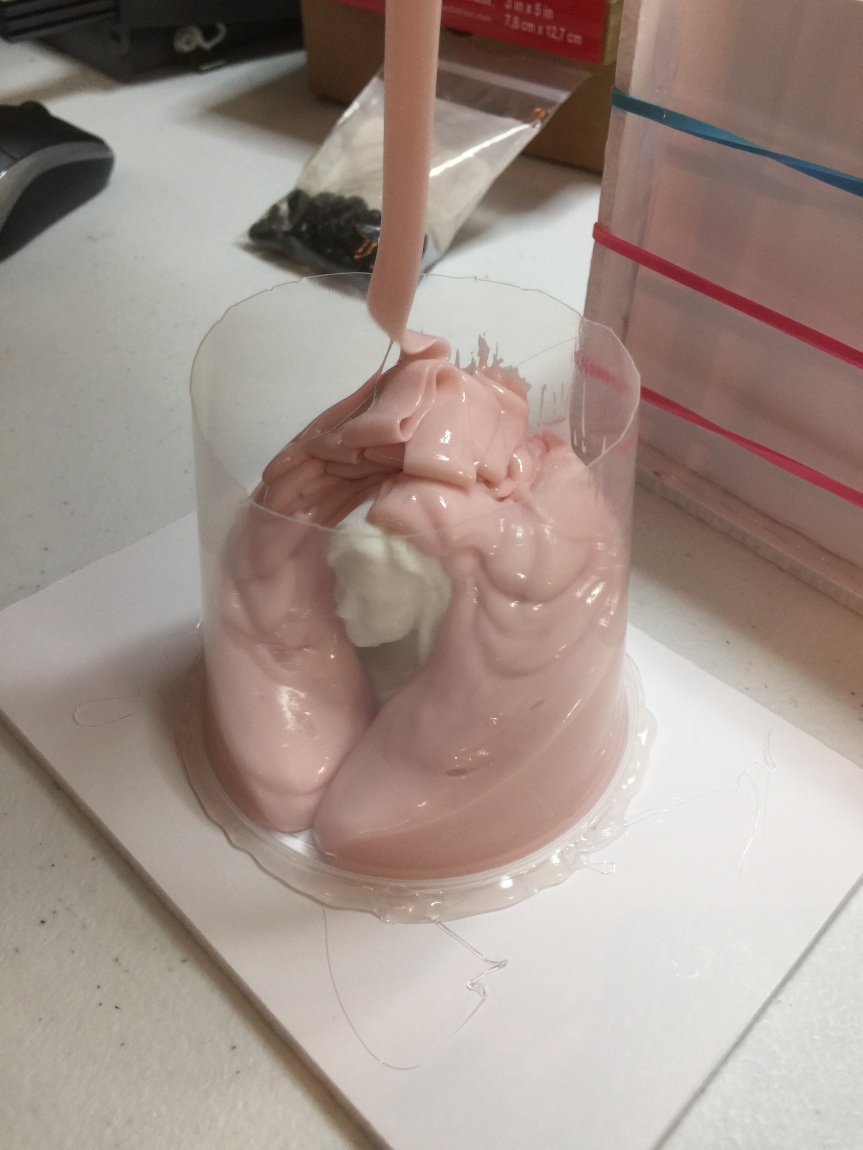
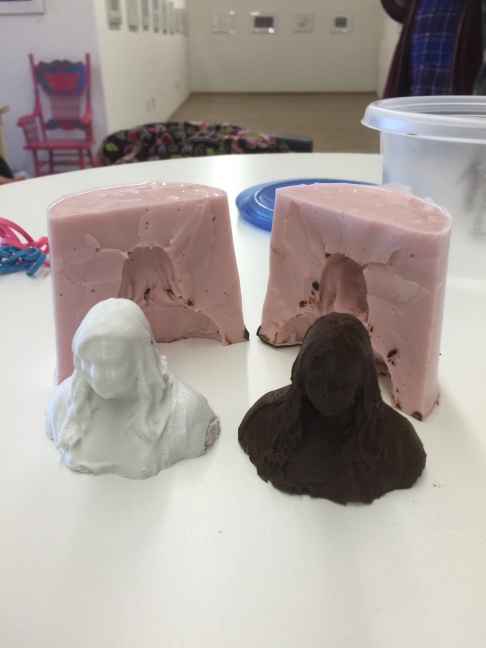
You can learn more about all our new ideas for the 2017 Dayton Mini Maker Faire this weekend, November 5-6 from 12-5pm, at the Dayton Mall Barnes & Noble Mini Maker Faire.  We’ll be one of the featured exhibits along with Dayton Diode, STEAMWorks Labs, Proto Buildbar and Boro Moms & Beyond.  Get an up-close look at the winning go-cart from the Boneyard Build-Off, check out some cool EL wire, HAM radio and electronics projects, and see some 3D printed stuff at our table.  We are excited to be partnering with Barnes & Noble for 2017, and look for their pop-up shop at Carillon Park during the Dayton Mini Maker Faire August 5-6.

If you can’t make it to the Barnes & Noble event this weekend, mark your calendars because Make It Dayton will also be at the Science Festival during Super Science Saturday at the Boonshoft Museum, November 19 from 10am-4pm.

Finally, if you’re looking for a way to get involved with Make It Dayton, or want to volunteer at the Dayton Mini Maker Faire this summer, be sure to follow @makeitdayton on Facebook and Twitter, and join our Meetup group at www.meetup.com/Make-It-Dayton/.  We have been holding casual meetups at local coffee shops called Maker Mornings.  We have them every few weeks on Saturday mornings, and we try to rotate locations around town.  You can also reach us at makeitdayton@gmail.com.  We are looking for people interested in being part of the planning committee, but also for our street team that hangs flyers around town and for our day-of Maker Faire set-up, tear-down and event teams.  These are all great opportunities for high school or college students, boy and girl scouts, or other youth groups looking to record some volunteer hours supporting Dayton History, the non-profit that runs Carillon Historical Park.

We hope you’re getting excited about next summer’s Dayton Mini Maker Faire!  We can’t wait!  For all the latest news and announcements, be sure to subscribe to this blog as well as follow @makeitdayton and @makerfaireDAY on Facebook and Twitter.

Boneyard Build-Off: Meet your Makers

At this point, you’ve heard about the Boneyard Build-Off and you’ve seen the possible projects. But what about the players? The scrap pile isn’t going to assemble itself, after all. So who are these few, these happy few?

Team Orville
Team Orville: First in flight, first in facial hair

Chris Wire of Proto BuildBar and Real Art. Wire brings experience in welding, fabrication and small engines.

Rob Tarr of SparkBox boasts Arduino, woodworking, software development and small electrical wiring among his skill set.

Bryan Campbell of Real Art has industrial design, fabrication, and small engines on his Maker resume, as well as being a bicycle and motorcycle expert

John Shafer of Shafer Designs counts metal fabrication, woodworking, finishing, masonry, and forging as part of his myriad skills, as well as a willingness to hunt and gather for anything his team needs.


Team Orville
Team Wilbur:  Bald is beautiful. And aerodynamic.

Christian Moist of MCM Electronics brings skills in design and fabrication, woodworking, engines and mechanicals to the scrap pile as well as CNC router knowledge, in addition to standard power tools. Moist admits though, that he can’t weld.

Michael Castor, also of MCM Electronics, has his Maker credentials in 3D CAD/CAM, digital fabrication, woodworking, electronics, welding and metal fabrication as well as blowing stuff up.

Mark Carroll of Make It Dayton has a background in computer engineering, and hobbies that include working on cars and arduino/raspberry pi projects.

David Wirth, also of Make It Dayton: Inventor of the portable, 3D printed, semi-automatic railgun, Wirth has a wide array of talents, including welding, electronics, fabrication, pneumatic systems, high voltage systems, 3D CAD and 3D printing.

These are your Boneyard Build-Off champions, Dayton. They will all build to celebrate making, Dayton and the joy of turning junk into jewels. But only one team will walk off with the coveted Build-Off capes and victory.

This day is call’d the Build-Off.
He that out-builds this day, and comes safe home,
Will stand a tip-toe when this day is nam’d,
And rouse him at the name of Boneyard.
He that shall build this day, and see old age,
Will yearly on the vigil feast his neighbours,
And say “To-morrow is the Build-Off.”
Then will he roll his sleeves and show his scrap,
And say “These tools I had on Build-off day.”

Boneyard Build-Off: The Goals

Boneyard Build-Off_Logo_FNL

For anyone who fondly remembers the show ‘Junkyard Wars’, the Boneyard Build-Off is not to be missed. Professional makers sweating (and I do mean sweating…it is July, after all) out a deadline in order to build something awesome from a pile of junk? Sign me up. But before they get started, they have to know what to build. The final project selection won’t take place until 10AM this Saturday at the opening ceremony to the Dayton Mini Maker Faire, but as of now, the field of potential goals has been narrowed down to the final 3. What are they?

1) The Boneyard Triathalon
2) Boneyard Bowling
3) Boneyard Can Crushathon

So what are each of these? Check out the Real Art blog for more details on what the Boneyard’s teams will face.

Personally, I’m coming up short on approaching any of these goals. For the triathalon, I might be able to build something that can pull a load. On a good day, I could possibly give it some speed. But make it look cool, and in only 6 hours on top of all that? To paraphrase the immortal physician, “Dang it, Dayton, I’m an engineer, not a designer!”.

The bowling: I can’t bowl worth a darn on a good day. I think my all time high score is 63. And now I have to design something to fire at an unknown set of targets? (Fun thought: what if they’re bottom heavy? That way they tend to right themselves, but taunting me with points that could have been.) I think I’d be better off just charging at them down the lane.

Can crushing. I can totally crush cans. Do it for the recycling all the time. But paint cans? I stomp those just to put the lids back on. And metal 5 gallon drums? Whatever gets built is going to have to have some serious force behind it. Even if you dent the sides, it isn’t going to just collapse in on itself.

I’m stumped, so I put it to you, Dayton: How would you tackle each of these goals? Seriously, let us know. Because the clock is ticking.

#TypewriterSelfie at #DaytonMiniMakerFaire

Today’s blog post is by Joe Althaus, of Real Art. His project is an amazing blend of the old and the new.

Always on the lookout for an excuse for a new project, we were excited to learn of the Dayton Mini Maker Faire, but the question was… what to make? We wanted to have a project that had a takeaway element, something that attendees could keep. We wanted to prompt folks to share their experience with the project and the Faire in general on social media to maintain the buzz. And finally, we had the hankering to do some sort of retro typewriter project, spawned in part by some of the past work we had done with WWII vintage teletypes (also at the Dayton Mini Maker Faire!). The concept for the Typewriter Selfie was born and all you have to do to play along is post a photo on Twitter with the hashtags #DaytonMiniMakerFaire and #TypewriterSelfie and come find us at the Faire to receive an ASCII-art rendition of your photo!

Blog 1

The search was on for a hackable typewriter. Our main requirement was that our typewriter have some sort of electrical interface so that we could send our own data to the machine. Generally, we walked into this project kind of blind because as it turns out, most (i.e. all but a Selectric few) were purely mechanical devices. Of course, if you are a typewriter nerd, this is obvious and also the reason you love a good typewritten message. With the prospect of installing individual solenoids to control key bars and linkages to produce characters, we were not looking forward to the mess of wiring and fixtures to hold everything in place. But man, that would have looked (and sounded) really cool! We also discovered folks who had hacked electronic word processors by spoofing the keyboard matrix keystrokes. Again, the prospect of hacking the keyboard, and essentially sacrificing/dedicating a typewriter to the project left us less than stoked. Eventually, we found the Brother EP-22 and bigger brother EP-44 electronic typewriters which matched the vintage vibe of their mechanical brethren (as much as a wedgie style word processor can anyway) but also possessed the holy grail for our project – a serial port! The serial port allows these machines to be put into terminal mode, printing to the paper any ASCII character that is sent to it via the RS-232 port.

Blog 2

All was not solved however, as anybody who has ever tried to get a serial connection up and running from scratch may know, it can be tricky. Baud rates, stop bits, RX -> TX, TX -> RX (which pins were those again?), serial communications can be nasty little imps. The first thing we did was consult the manual for the typewriter. A good amount of information there – variable baud rates, 8 data bits, no parity, 1 stop bit, ASCII encoding. Great! But how do we actually send data? Well, to start, we used a serial terminal program for Windows called RealTerm. This allowed us to configure a COM port (fancy Windows speak for a serial communications channel) on the computer to whatever settings we would like. Next up: Hardware. Both the EP-22 and EP-44 have a 25 pin RS-232 port and we have nothing of the sort on any computers anymore. No big deal, we’ll just pick up a DB-9 to DB-25 converter and a USB to RS-232 adapter. Perfect! We popped in our USB adapter and fired up our serial connection at 300 Baud (the default for the typewriter) with the same settings from the manual. We made sure the typewriter was set to “Terminal” Mode and that the machine was online and listening to the serial port. As is customary, we typed in “Hello World!” and clicked Send. Away we go right?! No dice. Double checked our serial port settings in RealTerm… of course, even though we made sure the first time to pick the correct settings, the settings were totally wrong – the gods of serial communications weren’t going to let us get off that easy! Now we were up and running with what essentially amounted to a… printer. It’s the little things folks.

Blog03

Next, we decided that we wanted our Typewriter Selfie system to work independent of WiFi availability and we also wanted to have the option to be mobile with our setup, printing ASCII-art mugshots along the way. We decided to use the Particle Electron, a tiny board that packs in a cellular radio and a powerful STM32F205 ARM Cortex M3 microcontroller. We have used the Particle Photon pretty regularly in our projects and we were itching to give the Electron a go. As a matter of fact, we did most of the development described below with a Photon to save data consumption since the Electron is cell-based and the code (firmware) is cross-compatible.

The Particle boards we chose have a serial communications channel (UART) inherently within the microcontroller. So, sending data to the typewriter should be as easy as putting the line of code like Serial.write(“Hello World”); within the Particle development environment. While that is true, we have to make sure that all the same settings are configured correctly within the Particle device too. The next step was that there wasn’t any physical port to connect to on the Particle board – no serial ports, no USB ports.  Sparkfun to the rescue with their RS-232 shifter! This little board is how we add a serial connector to our microcontroller – it is responsible for bumping up the low voltage pulses from the UART on the microcontroller to meet the higher voltages required to communicate via RS-232. Awesome right?! The catch is that the physical connector on the Sparkfun board is a female connector and what that meant was we had the wrong gender on our DB9-DB25 adapter. Gender changer to the rescue! Of course there was another catch, our Receive and Transmit lines needed to be swapped. Add on a Null Modem to the stack of nearly obsolete connectors required to make this project work! Fired it up, uploaded the code (another “Hello World” version – this time for the microcontroller) – nothing. As it turns out, after hours of testing, the microcontroller on the Particle boards (Photon and Electron) have UART peripherals that are baud rate limited to 1200 baud on the low end. The typewriter wants 300 baud. This is like a guy who speaks *insert obscure language that sounds too crazy to be real* reading out loud to a person who doesn’t speak *insert same language*. So, we decided to use an Arduino Pro Mini to simply handle the baud rate conversion. From there, it was smooth sailing from a hardware perspective. We added an additional set of boards to be able to charge a battery with USB charger and boost the battery voltage up to 5VDC to power the other devices. This way we can be mobile because the typewriter is also battery powered. Cool.

Blog 4

So that was it. We could finally send data wirelessly over to the Photon and subsequently to the typewriter. The only thing that remained was to send the actual data that is your selfie right? Well that wasn’t exactly all that easy either.

We started by working backwards by hitting the Internet for a few test images. Those “images” were really a huge set of characters 75ish characters wide and tall. So we found that we couldn’t just send an entire image that was something in the realm of 6,000 characters wirelessly all in one go. We could have posted it up to a remote server and then had the device pull it down, but we wanted to do it all server free. You know, just a device talking to another device.

Blog 5

For ease of use and probably just because we opted to use the Particle javascript API. That way we could literally just use webpage to create, parse and send the image. After a failed attempt trying to send the data through websockets and TCP which wasn’t very friendly to our Electron, but would have made it a lot faster, we ended up just using the built-in Particle cloud functions ( and yes this kinda counts as another device, but it’s free and we didn’t have to do/code/host anything). Since the functions are restricted on the amount of data we whipped up a little packet format so we could split out those thousands of characters into 64 character length pieces. Now we could finally take our little huge ASCII image and send it along.

There was a little bit more to all of this, like pulling the image from Twitter and then converting it from pixels to text, but why reveal everything before the event! Seriously, you share your pic and we’ll print it for you. Just stop by the booth or catch us walking around!

Blog 6

Don’t forget to get your Typewriter Selfie at Carillon Historical Park next Saturday. See you there!

Call for Makers is over, now what?

The Call for Makers for the 2016 Dayton Mini Maker Faire is now closed. Thank you to everyone who applied to exhibit. We’ve got over 50 Makers from a huge range of interests! So, now what to do?

Well, attend! With all these Makers gathered in one place, there’s no better place to go and see how creative Dayton is. Start out by building a rocket with the Wright Stuff Rocketeers and launching it in front of the Deeds Carillon, then head into the park, where you can learn to solder, sew, play a guitar made of reclaimed wood, experience virtual reality and visit the world’s first practical aircraft.

Want to see how the professionals do in a crunch? Visit the Boneyard Build-Off, behind Carillon Brewing Company. Here, two teams will duke it out to build the best they can out of recycled and donated materials. The catch? We’re telling them what to build that morning. At the end of the day, we’ll test their contraptions, and the winners walk away with the bragging rights and the grand prize, provided by Tracy’s Sewing Studio.

I’m only walking the park in my imagination, and I could use a bit of a break. So, I’ll swing by the Brewing Company for an 1850’s style beer and a snack (I’m partial to the schnitzel, myself), while learning a bit of brewing history.

Recharged, now there’s a steam engine to race, a 1/8th scale railroad to ride, a bit of miniature golf to play (or maybe sign up to design a hole) and a visit to the local makerspaces.

At this point, we’ve hit less than half of the Makers; there’s something interesting and fun for everyone. So, spread the word, bring all your friends and family. See you July 16th!

Making with the Dayton Metro Library

The Dayton Metro Library is bringing our Maker Kits to the Dayton Mini Maker Faire! Stop by our booth and experience them in person. Staff will be on hand to help you get started.

Here’s a sampling of what you can do with our Maker Kits.

The above videos were make using a combination of our Photography/Stop-Motion Animation and Music kits.

The Music Kit Includes:

  • Instruments (ukulele, tambourine, etc.)
  • Tuner
  • Korg Kaossilator
  • Korg Monotribe Analog Ribbon Station
  • Recorder

The Photography/Stop-Motion Animation Kit inclues:

  • Go Pro Hero & webcams
  • Backdrop & Lights
  • LEGO  Figures
  • Crafting Supplies

The Circuits Kit includes:

  • Snap Circuits
  • Squishy Circuits
  • Makey Makey Kits
  • Conductive Ink Pens
  • Copper Tape

The 3D Kit includes:

  • Watercolor Bot
  • 3Doodlers
  • Strawbees

We have 10 kits total, and we’re bringing them all! Learn more at daytonmetrolibrary.org/makerkits.

Meet the Makers: Adev Automation

Today’s Meet the Makers blog post comes from Tyler at Adev Automation.

What is Adev Automation Anyway?

Adev Automation, Inc. is a robotics startup located in Dayton, Ohio.  We are passionate about finding innovative solutions for complex, real-world problems.  Agriculture faces serious labor challenges in the near term, we already see crippling shortages in harvesting labor.  There is a need for more efficiency and automation for all agricultural systems, but especially delicate crops, such as strawberries.  This is where Adev Automation shines.  We are a dedicated team that has the ability to capitalize on recent advances in sensor technology to tackle this problem head on.

To accomplish this goal, we are developing a robot that will automate the harvesting of fresh-market strawberries.  This model is the S-1, and he likes picking strawberries with the stem on!

The Adev S-1 picking a stem-on strawberry

Our sensor platform allows us to search a strawberry patch, find the ripe strawberry, and then send an articulating robot arm to harvest it.  There is a visible camera system for finding the strawberry, and then a time-of-flight (ToF) depth sensing camera to measure the distance to get to the ripe berry.  This system has the ability to work day and night, which is a great feature for a couple of reasons.  First of all, picked strawberries don’t last very long in the sun and heat.  Second, our robots don’t have to worry about sore backs after picking all day!

Example of sensors finding strawberry

Once the process of finding strawberries and picking them is perfected, we’ll be able to make a fleet that can travel from one farm to another harvesting strawberries.  This would begin in the south, where strawberries ripen earlier in the year and move north as those strawberries become ripe.

Map from USDA Agriculture Statistics Service

That’s just a quick introduction to Adev Automation.  Feel free to stop by our booth at the Dayton Mini Maker Faire and talk to us and ask us questions!  We love talking to people about using robotics to make agriculture better!

Got a robot or other project you want to show off? Join our growing list of Makers by filling out this application. We’ll see you July 16th at Carillon Park!

What to Make for Mom – Found Object Planters

Today’s post is by Emily, a founding member of Make It Dayton.

When I think of giving gifts, I almost always think about what I could make.  Just about everyone can appreciate the time, thought and effort that goes into making something special.  With Mother’s Day right around the corner, I started to think about what unique thing I could make for the ultimate Maker Mom.  My mom loves upcycling – reusing, modifying or repurposing old items to make something new.  She also loves succulents for their unique shapes, textures and colors (nevermind that they’re nearly impossible to kill!).  I wanted to find a way to upcycle some unexpected items into quirky succulent planters for my mom’s garden.

I started out at the Antiques Village in Miamisburg for inspiration for the base of the planter.  I was able to find an old dining room chair and a bowl and pitcher set for a reasonable price.  I didn’t care too much about the condition since these items will be outdoors and I want them to continue to weather and age for a rustic look.  You might have something around the house or shop local garage sales for your base.  Be creative and think about things in a different way.  You’re just looking for something that will hold some potting soil and withstand the elements.

pic1 pic2

The first thing I realized was that the chair seat was not very deep and that the potting soil would need a little more structure to hold it in place.  I had some spare chicken wire in my garage from a previous project, so I created a flattened tube like cage the size of the seat and attached it with zip ties in each corner.  It was fairly easy to fish the zip ties through the caned seat, but if your chair seat or other object is solid you may need to drill some holes to anchor the zip ties.

pic3 pic4 pic5

It’s easier to work with potting soil when it’s moist.  I used the basin to mix up a batch of damp potting soil.  You want it to have the consistency of wet sand, just damp enough to be able to mold and compact, but not wet enough to be mud.

pic6

Next comes the messy part!  Start filling the wire cage with as much damp potting soil as you can.  I had to periodically pour a little water on the chair seat to push the soil into all the crevices.  This takes a while, but don’t get impatient.  You need to make sure you fully fill the cage with enough soil to support the plants you’ll be adding later.

pic7 pic8

I also went ahead and filled the bowl and pitcher with soil.  I molded the damp potting soil around the base of the pitcher to hold it in place tilted over at an angle.

pic9

Next start adding your plants.  You can find a beautiful selection of succulents at most local garden centers.  I went with an assortment of sedum, chicks and hens, and other succulents with names I can’t pronounce but look really cool.  The point here is to select a variety of plants with different colors, textures and sizes for an eclectic look.

pic10 pic11 pic12

Try to find a large, unique succulent to be the focal point of the arrangement.  I used large, ruffled dusty gray chicks and hens in both the chair and the pitcher arrangements.  I let some of the plants trail over the edge and also made sure to not over fill the planters so the plants have room to spread over the course of the summer.  Here in Dayton, succulents usually weather well through the winter and come back full force in the spring, so these planters will be a gift that keeps on giving.  Just be sure to move the planters into a sheltered area for the winter to prevent the wood from rotting or the ceramic from freezing and breaking.  You can also bring the succulents indoors and they will do very well as a houseplant.

pic13

If you decide to make an upcycled, found object planter or another handmade gift for your mom this Mother’s Day, tweet it to us @makerfaireDAY or share it on our Facebook page with the hastag #MadeForMom!

History in the Making: Sewing Up Flight

When you picture the Wright brothers working on their Flyer, what do you see? For myself, I tend to picture them making airflow calculations, turning the propellers and, in general, covered in grease trying to get the recalcitrant Flyer up. Basically, either the Flyer is not there at all, or it has popped into existence, fully formed, waiting for Orville or Wilbur to make a few tweaks to get it into the skies. But, as every Maker knows, that’s not how projects work. It’s a thousand different steps and corrections on a big project, and you get to slowly watch it take shape under your hands, until you hit the point where it nearly looks like the image you started with. So, at some point (I like to think), there were skeletal airplane wings laying around the shop, when Wilbur looks over to Orville and says “Well, I think it’s time to head to Rike’s.”

Poof! "Okay, flight's solved. And we still have time for lunch!"
Poof! “Okay, flight’s solved. And we still have time for lunch!”

What vital component did the Wrights purchase at Rike’s? Yards upon yards of “Pride of the West” brand muslin fabric, the skin of the first airplane. Which means that these pillars of aeronautical engineering share something with many Makers today that we don’t often consider: sewing. They worked together in the backyard of 7 Hawthorne Street, using their family’s 1898 treadle-powered (!) Singer sewing machine. According to Katharine Wright “Will spins the sewing machine around by the hour, while Orv squats around marking the places to sew”.(1) And something to keep in mind: they didn’t just build the 1903 Flyer, take off and have done with it. There were gliders, prototypes and (as is inevitable in Making) mistakes. The Wrights must have spent hours upon hours sewing in the backyard, leading to speculation from the neighbors: “Some say the boys just go camping and make their own tents. Others say they are trying to fly. I don’t believe they’re that foolish.”(1)

After all the sewing was done, Wilbur's calves were the envy of the neighborhood.
After all the sewing was done, Wilbur’s calves were the envy of the neighborhood.

In the 1940’s, the 1905 Wright Flyer III (“The world’s first practical airplane”, according to Orville Wright) was restored using the very same “Pride of the West” fabric. And think about that for a minute; finding the same parts 35 years later. I can’t find the tape measure I laid down 2 minutes ago. You can see that famous fabric on the Wright Flyer III at Carillon Park, along with the 1898 Singer sewing machine that made it possible. But on July 16th, you can see those, as well as showcase your latest and greatest sewing projects in Dayton at the Dayton Mini Maker Faire. See you there!

Missing. Last seen in my hand 2 minutes ago. If found, please tie to my wrist.

Interesting tidbit to leave you with: the creation of the Flyers weren’t Orville’s first run-in with a sewing machine. Like many a Maker, as a young child his curiosity got the better of him, leading him and a neighborhood friend to disassemble a sewing machine.

(1) McCullough, David, The Wright Brothers, New York: Simon and Schuster, 2015

Edible Me: Casting Yourself Into Chocolate

This is the first in our series of guest blog posts, showing off our Makers for Dayton Mini Maker Faire. Lory Livezey runs the Tinker Tuesday Meetup Group, is a partner in STEAMWorks K12 and K12 Gallery Tejas and is a web developer for MCM Electronics.

Recently, I have been focusing on finding some fun projects for my Tinker Tuesday Meetup group that will introduce people to the amazing Maker world.  Since I recently purchased an ISense 3D Scanner that attaches to/ my IPad, I began scanning people at the K12 Gallery where I usually hold my Meetup.  Technology at an Art Gallery is an intriguing proposition — holistic creations — so I’ve been trying to find Tech-Art cross-over projects.

Here are the materials I used for this project:

— 3D Scanner
— MeshMixer (AutoDesk)
— 3D Printer (with software)
— Glue Gun
— Plastic Cups (see-through if possible)
— Food Grade Rubber Mold Making Compound
— Rubber Gloves
— Exacto Knife
— Chocolate

IMG_0148.JPG

Scanning the Person

The first step is to scan the person.  I found that its best if they sit in a chair, particularly if they are taller than you.  You will need to get the top of their head.  The scanner will lock on to the target, and the ISense uses the motion sensors in the IPhone/IPad, so you will need to move — do not try to move the object.  As you complete the scan, the object (person) will turn white.  Get under their chin, behind their ears, etc, or else you will have holes in the model.

Touching up the Model


The ISense software will allow you to e-mail the model.  You can then pull it up on a PC (or Mac) and I did the touch up using AutoDesk MeshMixer.  Here are a couple of useful commands:

  • Auto-detect the holes in the model and fix:  Analyze -> Inspector -> Auto Repair
  • Move the model around:  Edit -> Transform -> Drag the arrows around
  • Make the Model a Solid:  Edit -> Make Solid
  • Fill any holes: Sculpt -> Drag the surface over the holes– pretend it’s clay
  • Make the bottom of the model a clean cut:  Edit -> Plane Cut -> Drag below plane

IMG_0146.JPG

Bring Into 3D Software

Once you get the model cleaned up in Mesh Mixer, you’ll export to an STL to pull into your 3D printer software.  Mine came in really tiny, but I used the Scale tool to enlarge it to about 2″.  After some experimentation, I found it was best to do a high quality print with a high layer density (.15), but since it doesn’t need to be strong, a low fill (about 20%).  It took about 4 hours to print, but it came out nice and smooth!  The 3″ models I used for other purposes took about 7.5 hours.

IMG_0114.JPG

Making the Mold

The next step is to make a food-safe mold.  There are a couple of things to consider.  As with 3D printing, you have to think about overhangs.  How will you get your object out of the mold?  Straight objects work pretty good in a one piece mold, but for a complex object such as this, it’s common to make a two part mold.  My original plan was to do it the “right” way and create a two part mold like this:

IMG_0127

The frame is filled half way, allowed to cure, then flipped over (removing the clay), pouring the second half, using a special spray to ensure that the two halves do not stick together.  The screws are what I used for guides so that the two halves would fit together.

I ditched this idea because I want the class i’m developing to be simple.  It’s all part of the process of making — trial and error and error and trial and eureka!

The method I decided to use involved a cup and a method used for one part molds.  I hot glued the model to a piece of foam board (found at WalMart in the crafts), and cut off the bottom of the cup.

IMG_0129

Mix equal amounts of the A and the B parts of the rubber mold mix.   Pour it in slowly, holding it high and off to the side of the model.  This will allow for the bubbles to dissipate.

IMG_0133

Allow The Mold To Cure

Allow the mold to sit for 24 hours.

Remove the Object

I knew I was not going to be able to pull the object out of the mold.  Instead, I used an exacto knife and cut the mold in half, pulling the model out.

Pouring the Chocolate

I put the two pieces back together and tied rubber bands around them, making a seal.  After heating the chocolate in the microwave for about a minute, I poured it into the mold.

IMG_0141

Here is the final product, compared to the model:

IMG_0150.JPG

My disclaimer is this:  This is not the usual way to make a 2 part mold, but as you can see, my customer was delighted and it works.  So I guess that’s what matters!

Check out this video of Marysa unbanding her chocolate: https://youtu.be/SBfOAdxI_KA

For more fun projects like this, please join my Tinker Tuesday Meetup Group.  Proceeds from this event will go to STEAMWorks K12 and K12 Gallery Tejas.   I am also a web developer for MCM Electronics — a supplier of Raspberry Pi / Arduino and other electronics for the Maker Community.

See you at Dayton Mini Maker Faire!

Lory Livezey
Tinker Time!
lory@tinkerti.me